

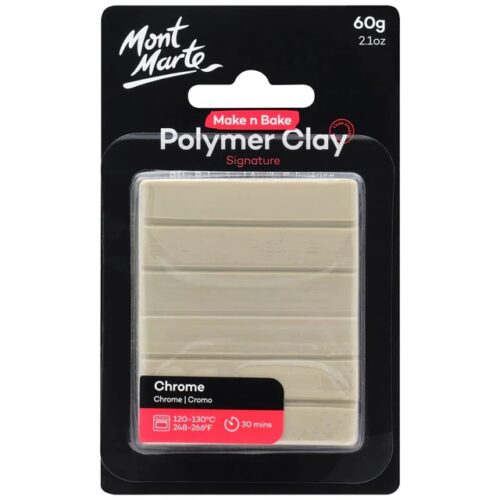
- Available in a range of bright colours
- Soft and smooth, makes it easy to knead, blend colours and join edges
- Very good shape stability and minimal shrinkage so your sculpture maintains original shape and size once cured
- Ideal for press moulds, pattern making, canes, beading jewellery
- Once cured can be drilled, sanded, cut
- Compact 60 g size great for adding many colours to your collection
- Non toxic
Directions:
- Knead until smooth
- Create your sculpture
- Preheat oven to 120-130 degrees c and bake for 30 mins
- Carefully remove from oven and let it cool
Handy Hints:
- Wash any dirt and oils off hands, surfaces and tools with dishwashing liquid to prep for sculpting
- Prepare clay by kneading until smooth and pliable, can be shaped with tools or press moulds
- Baking times may vary. In general, allow 30 mins of baking time for every 6mm of thickness - test run recommended
- Under normal baking at the correct temperature may generate a small amount of fumes. Baking at higher than recommended temperatures can cause increased fumes and should be avoided (all fumes are non-toxic)
- Place onto a foil sheet or ceramic tile (to diffuse and spread heat evenly) and into centre of household oven preheated to 120 - 130 degrees C (248 - 266 degrees F) and bake for 30 mins
- Do not use a microwave with polymer clay
- Hardened clay will accept additional layers of clay over it and can be re-baked
- Keep your unused clay fresh in cling film and store in airtight container - in a cool, dry place
- Keep packaging for future reference
Techniques:
- Mica Shift
- Skinner Blend
- Mokume Gane
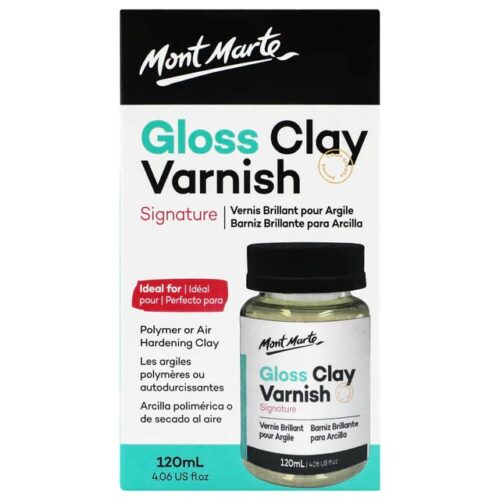
- Seals, protects and strengthens clay
- Suitable for polymer or air hardening clay
- Dries to a hard transparent, high gloss finish
- Water-proof formula great for DIY plant pots and more
- Enhances paint colour underneath and surface appearance
Directions:
- Apply varnish in thin layers using a soft taklon brush, allowing approx. 30mins to dry between applications
- Note: may have a slight tacky touch on polymer projects due to plasticiser in clay
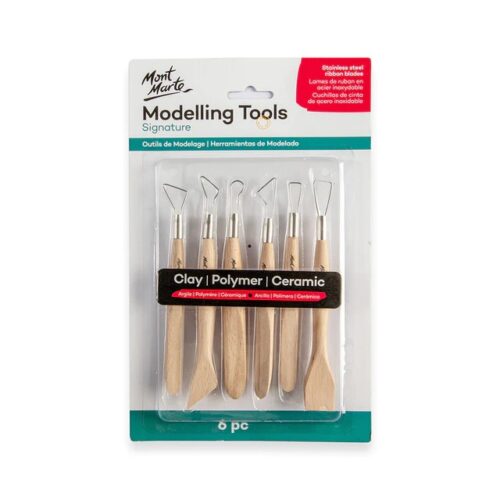
- The large triangular tool defines wide inclined areas. Shape and position features with the flat round end.
- This sharp angled ribbon tool carves out clay in hard to reach places. The wooden tool end incises fine lines.
- Create uniform indentations with the curved ribbon blade. Produce level surfaces with the wide flat paddle tool.
- Remove clay and form even shapes with the ribbon tool. Make fine details and texture with the flat rounded end.
- Use this small flat ribbon tool to cut and level clay. The wooden end shapes, smoothes and carves.
- Define large areas and regulate clay thickness with this ribbon tool. Slice small objects and make linear marks with the wide wooden end.
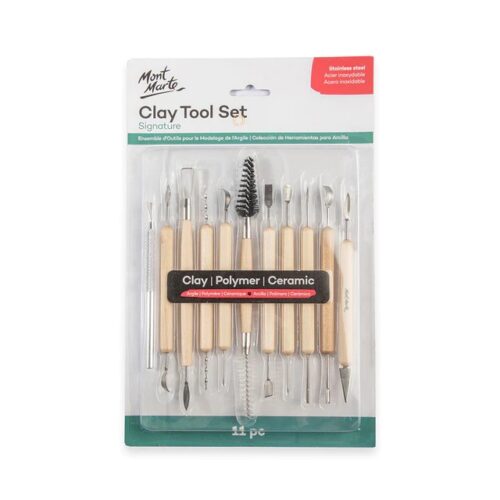
- Carve, cut and smooth with the curved end. The Spearhead end cuts small straight lines and is perfect for creating fine details.This small metal brush creates multiple fine textured marks.
- Remove clay in square in large flat areas with the open loop end. Carve, cut and smooth with the curved end.
- These tool ends are the perfect size for hand drilling holes for salt and pepper shakers in green ware.
- The needle point end is ideal for placing delicate objects or scratching in fine details. Carve, cut and smooth with the curved end.
- This tool is often referred to as a spoolie. It is great for cleaning rough spots on green ware in delicate or hard to reach places.
- The curved tool has a small sharp blade which is great for removing small areas with straight edges. The angled end is great for cutting small detailed areas.
- The angled tool is invaluable for flattening areas in hard to reach places. The needle point can create small holes, texture marks or can assist in placement of small objects.
- Use the slightly forked end to create wood like texture or sgraffito effects. Spearhead ends cuts small straight lines and etches fine details.
- The curved blade with the flat end lifts small areas with straight edges. Use the slightly forked end to create wood like texture or sgraffito effects.
- The curved blade cuts, carves and smoothes clay. The large spearhead blade is great for deepening details and making longer cuts.
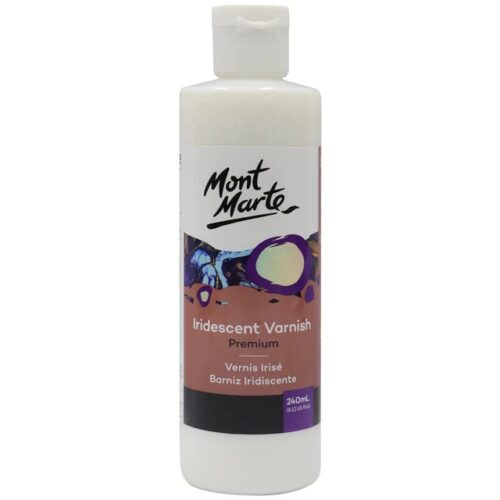
- Gives artworks a beautiful iridescent finish
- Apply a single coat to dry paintings using a wide, soft taklon brush
- Perfect for fluid art
- Use a dry, clean cloth to lightly remove any dust from the surface of your artwork before varnishing.
- Lay the canvas horizontally and use a soft taklon brush to apply the varnish quickly.
- Work from side to side and slightly overlap with the previous stroke as you work your way down the canvas.
- Donât use the brush over partially dry varnish because it can ruin the texture.
- To increase the iridescent shimmer, use multiple coats of varnish (allow the previous layer to completely dry before applying another coat). You can apply up to 4 coats of varnish to achieve your desired effect.
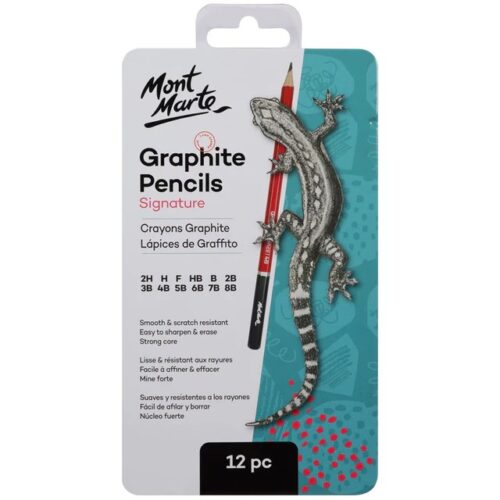
- 12 pencils included - 2H, H, F, HB, B, 2B, 3B, 4B, 5B, 6B, 7B, and 8B
- Smooth, scratch resistant leads
- Easy to sharpen and erase
- Hobby knives with a new, sharp blade can be used to sharpen graphite pencils with great results.
- For a finer point, try using a sandpaper block or fine grade sandpaper to assist with sharpening the pencil.
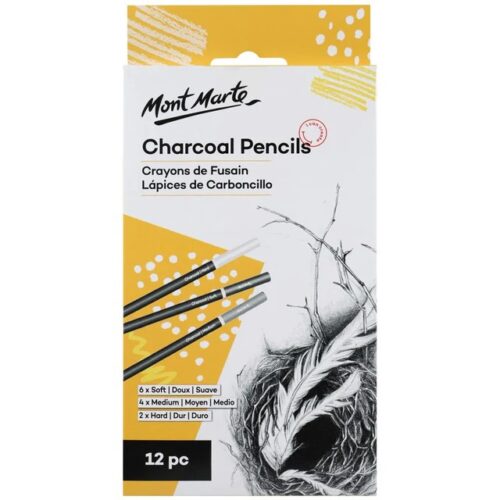
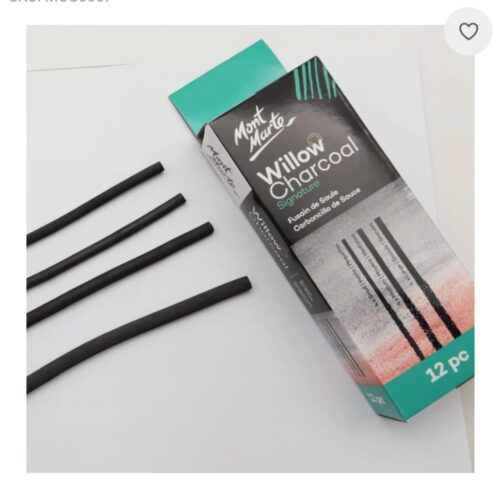
- Made from compressed charcoal encased in wood
- Cleaner and easier to handle than charcoal sticks
- Ideal for detail sketching and drawing
- Smudge and blend with fingers
- Sharpens like graphite pencils
- Keep damp cloth handy for wiping fingertips
- Highlights can be created with Mont Marte Kneadable Erasers
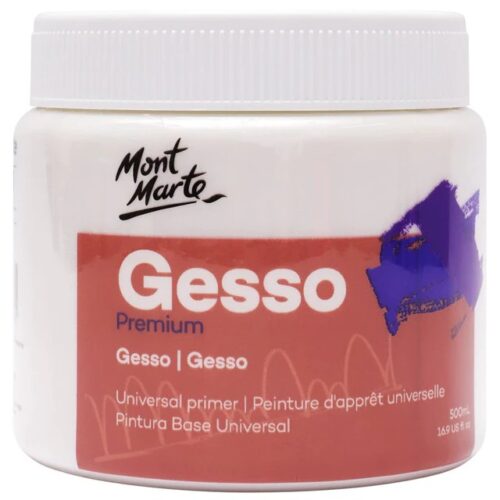
- using gesso on a pre-primed canvas gives your painting a smoother, more even surface
- the smooth surface allows paint to flow freely and won't get lost in the weave of the canvas
- reduces acidity levels of paper and wood, giving your painting longer life when using these supports.
- Mont Marte Gesso Brushes
- Mont Marte Long Handle Gesso Brushes
- Mont Marte Flat Wide Taklon Brushes
- Mont Marte Foam Hobby Brushes
- Mont Marte Foam Rollers
- Mont Marte Palette Knives
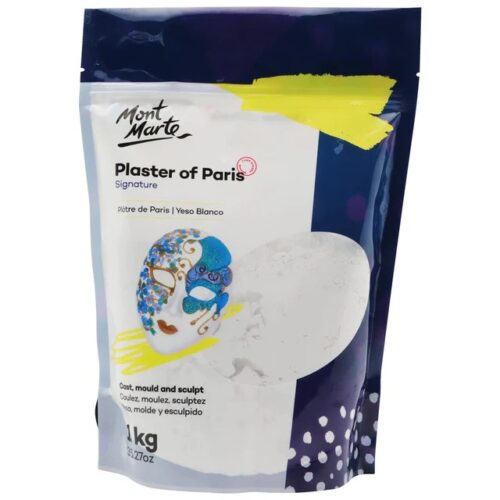
- 1kg.
- Designed for casting, moulding and sculpting.
- For mixing, we suggest approximately 1 part water to 2 parts plaster, however this will vary with temperature of water used and prevailing weather conditions.
- Never use bare hands to mix or stir plaster.
- Water should always be added to the mixing tray first then sprinkle or sift plaster into the water in small quantities and gently mix with spatula. Tap sides to vibrate and release air bubbles. When mixture is a smooth, even consistency and a uniform light grey colour it is ready to pour into mould.
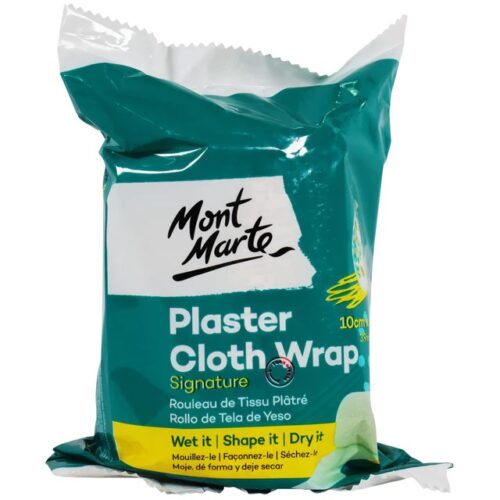
- 10cm x 4.6m (3.9in x 14.8ft)
- Can cover any form
- Creates masks and sculptures
- Cut your strips to size, dip into warm water and apply to wire frames, cores or models.
- Build up the layers until you are happy with the strength of your project.
- Once dry, sand and paint. Setting times will vary due to thickness. When dry you can even try adding clear acrylic to make it water resistant.
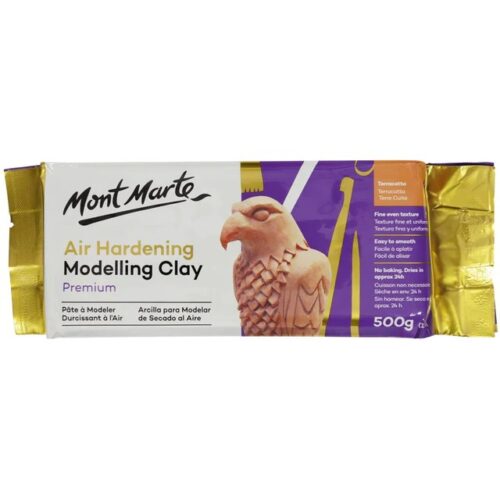
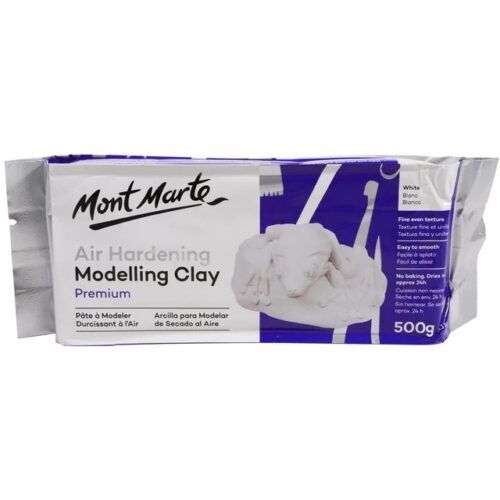
- Fine even texture ideal for free form sculptures
- Ideal for art, professional modelling and craft projects
- Introductory clay size block great for small-scale projects
- No baking needed, dries in 24hrs approx. (depending on thickness) to earthenware hardness
- Dries to a teraccota, matte finish
- Can be sanded, drilled, painted or varnished once dry
- Resealable sticker included to help keep clay fresh
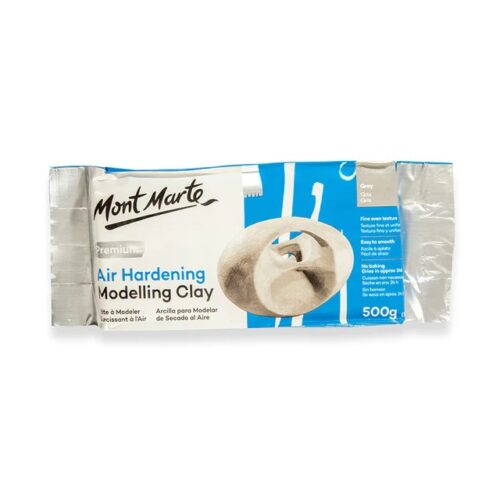
- Fine even texture ideal for free form sculptures
- Ideal for art, professional modelling and craft projects
- Clay block size great for medium-scale projects
- No baking needed, dries in 24hrs approx. (depending on thickness) to earthenware hardness
- Dries to a grey, matte finish
- Air dry clay can be sanded, drilled, painted or varnished once dry
- Resealable sticker included to help keep clay fresh
Handy hints
- Knead modelling clay before use
- Make sure your work surface is smooth
- To join large portions of clay, score both surfaces and dampen with slip (water)
- Cover your project with cling film and a damp tea towel between sessions and store in a cool, dry place within an airtight container
- Wash your tools with water straight after use
- Dry clay cracks can be patched with wet clay
- To speed drying time use a hairdryer
Techniques:
- Soil
- Slab
- Pinch
- Score
- Weld

- Potters Rib: This wooden tool creates uniform curves when wheel throwing.
- Modelling Tool: Suitable for shaping, smoothing and sculpting clay.
- Large Ribbon Tool: This tool has a large curved blade to shape and carve.
- Sponge: Soak in water and use on your clay piece to prevent it from drying out.
- Needle Tool: This tool is great for placing delicate objects, making small holes and scratching fine details.
- Double Loop Tool: This tool has one curved loop and one flat loop to carve smaller areas of clay.
- Metal Scraper: This metal blade can be used to add finishing touches to pottery pieces or to slice thin strips of clay.
- Wire Clay Cutter: This wired is used to cut and portion blocks of clay easily. Also great to remove finished pieces from the pottery wheel head.
- Fettling Knife: This tool has a long sharp flexible blade for sculpting, scraping and cutting clay.
- Vinyl Case: Keeps your Pottery Set neatly and conveniently together.
- softer and lighter in colour than compressed charcoal and can be used alone or with other drawing media
- may be smudged and blended with fingertips or a paper stump
- may be erased with aMont Marte Kneadable Eraser to reveal highlights
- Mont Marte Pastel Boards
- Mont Marte Sketch Pads
- Mont Marte Premium Cotton Paper
- Mont Marte Visual Diaries
- Mont Marte Compressed Charcoal
- Mont Marte Sketch Pads
- Mont Marte Soft Pastels
- Mont Marte Pastel Pencils
- Mont Marte Skin Tints
- Mont Marte Kneadable Eraser
Arif Shop
Arif Accessories is a Kenyan-based company with a specialization in Trendy crafts & DIY Supplies.
We are the leading supplier of both home & Commercial Glue guns and glue sticks with over 7 years of experience.
Need Help?
Store Information
- Free delivery for all orders over Ksh. 10,000
Copyright 2024 ©Arif Shop. All right reserved.